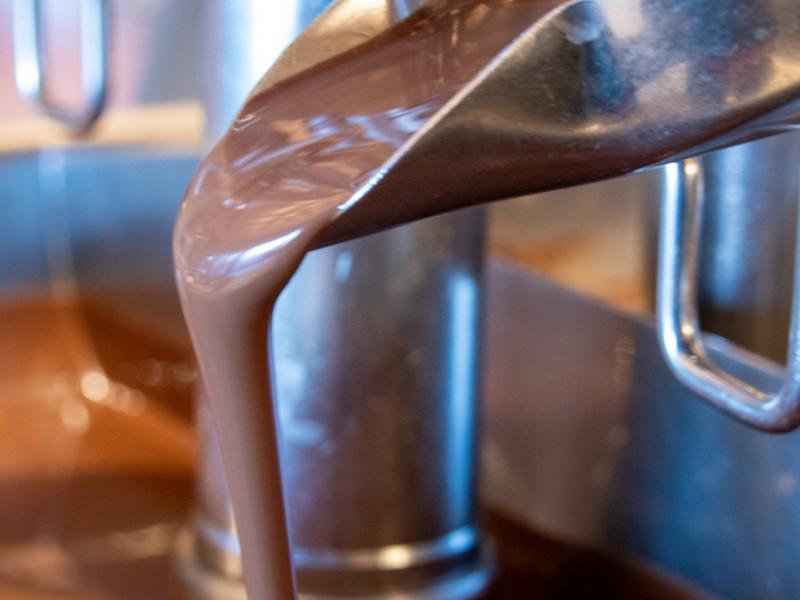


In high-end confectionery, chocolate tempering is not merely a process, but a precise chemical experiment in physical crystallization. Cocoa butter is polycrystalline, and only through a scientific cycle of heating, cooling, and reheating can it be guided to form the most stable V-shaped crystals.
For professional chocolatiers, the success or failure of tempering directly determines the visual and tactile qualities of the finished product: perfect tempering gives chocolate a mirror-like, high-gloss finish, a non-sticky texture at room temperature, and a crisp, clear sound when broken.
Conversely, unstable crystals can lead to a fat bloom, a rough texture, or difficulty in unmolding.
This article will provide an in-depth analysis of five mainstream tempering methods currently used in the industry, from traditional handcrafting techniques to modern precision machinery solutions, helping you choose the most scientific temperature control path based on your production scale.
1. Automatic Chocolate Tempering Machine Method
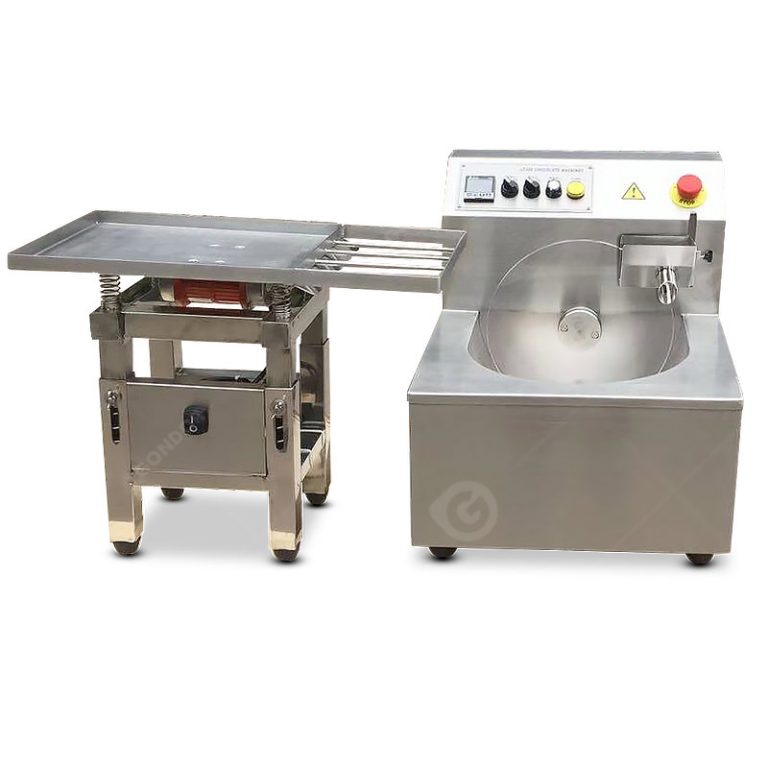
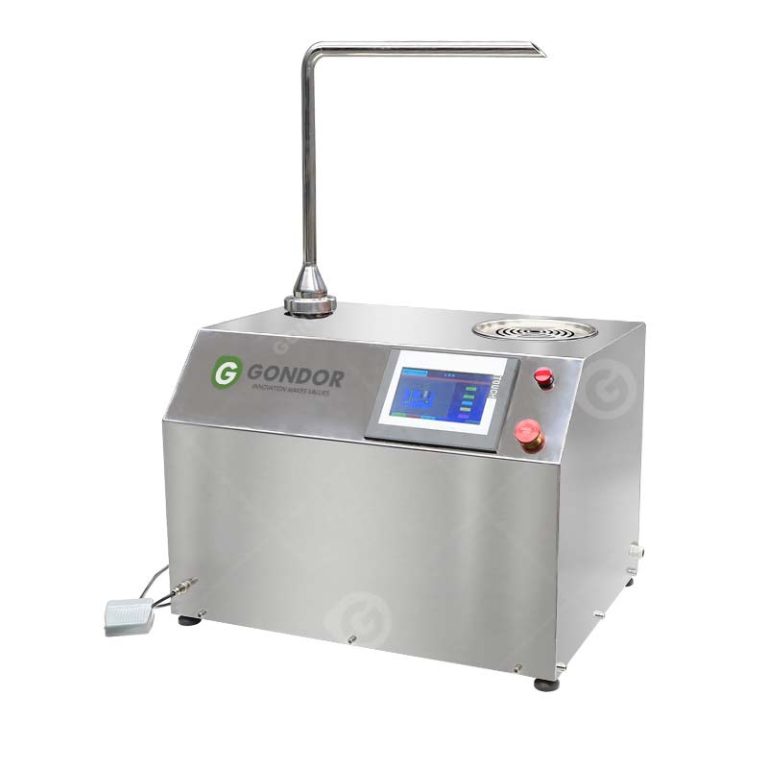
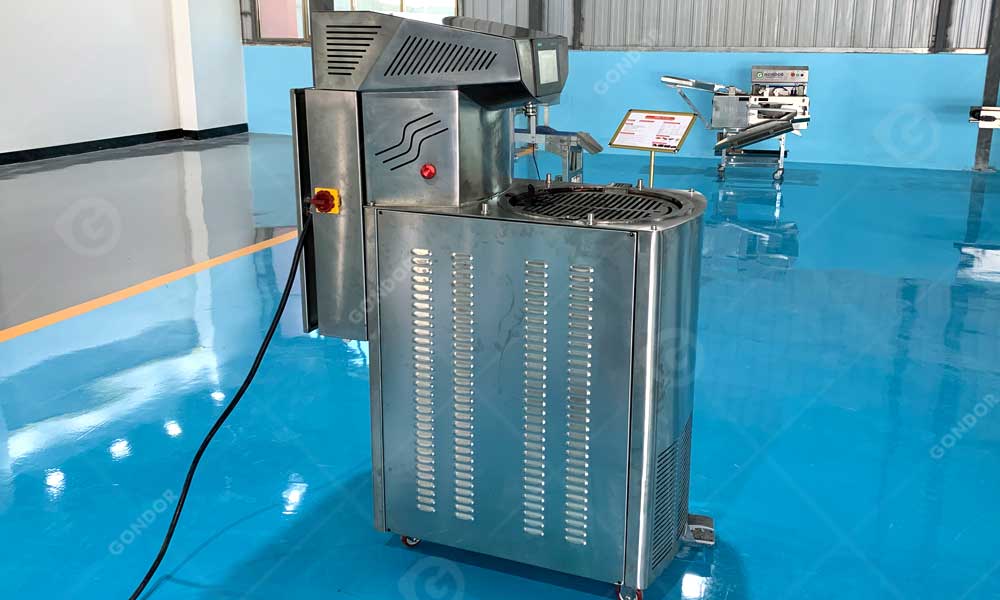
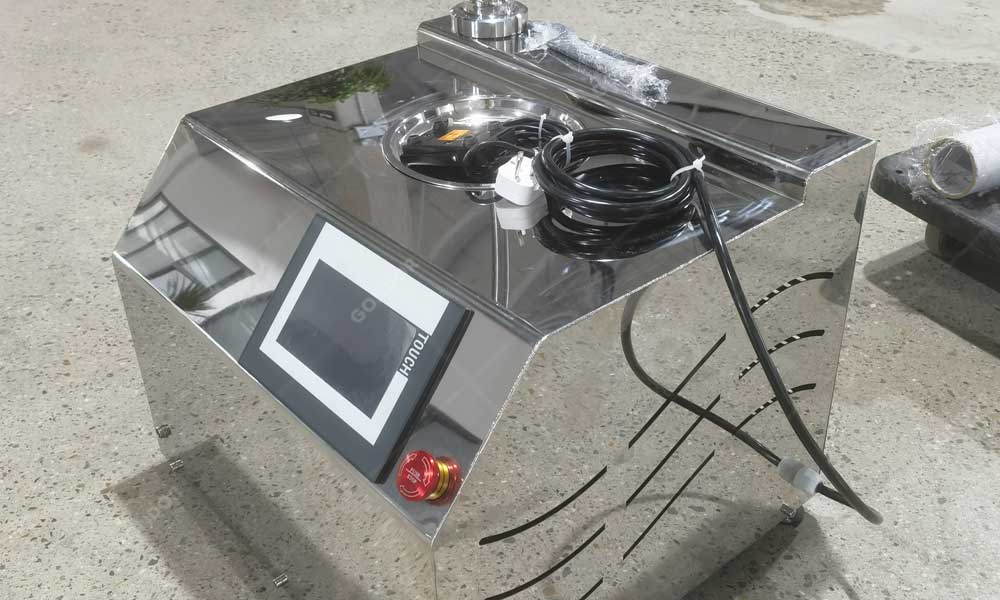
The chocolate tempering machine is the most efficient and precise solution, and its use is the “gold standard” for modern chocolate workshops and small factories. It uses a microcomputer to precisely control the temperature profile (heating-cooling-reheating) combined with continuous mechanical stirring.


Compared to manual methods, it eliminates human error, ensuring the chocolate remains in an ideal, workable state throughout the day.
The working steps of a chocolate tempering machine:
Melting Stage: Place chocolate pieces into the tempering machine’s cylinder. Set the melting temperature on the control panel (typically 45°C – 50°C for dark chocolate). The machine’s stirring paddles ensure even heating, thoroughly breaking down any existing crystal structures.
Cooling (De-icing) Stage: Trigger the cooling program. The tempering machine uses its built-in cooling system or circulating air cooling to lower the temperature to the critical point (approximately 27°C – 28°C for dark chocolate). At this point, the machine’s stirring action transforms unstable crystals into stable V-shaped crystals.
Temperature Control (Recovery) Stage: The machine automatically and slightly raises the temperature to the operating temperature (approximately 31°C – 32°C).
Continuous Temperature Control: This is the biggest advantage of this method. The machine maintains a constant temperature cycle, preventing the chocolate from solidifying too quickly or developing a white cast during operation. This is ideal for long-duration coating and mold filling processes.
Gondor’s Recommendation: If your business volume is increasing, manual temperature control will become a bottleneck to production capacity. Using professional equipment such as a desktop automatic chocolate dispenser can not only save 70% of operation time but also ensure the consistency of product quality for each batch.
2. Marble Slab Method
The marble method is the most visually appealing and skill-enhancing traditional method. It utilizes the high specific heat capacity of marble, spreading and stirring over a large area to rapidly cool the chocolate and create numerous stable crystal seeds.
Detailed Steps:
3. Seeding Method
The seeding method is best suited for home or small lab settings. The logic is to introduce pre-tempered chocolate chunks containing stable crystals (“seeds”) into the melted chocolate, inducing the formation of a stable molecular structure throughout the batch.
Detailed Steps:
- High-Temperature Melting: Melt 75% of the chocolate completely in a water bath (approximately 45°C – 50°C).
- Adding Seeds: Add the remaining 25% of the unmelted, tempered chocolate chunks (seeds) to the hot chocolate.
- Continuous Stirring: This is a physical crystallization process. Continuous stirring allows the “seeds” to release V-shaped crystals and distribute evenly. If there are too many unmelted chocolate chunks, remove them when the temperature drops to 32°C.
- Temperature Monitoring: Ensure the final overall temperature reaches 31°C – 32°C for dark chocolate and 29°C – 30°C for milk/white chocolate before use.
4. Microwave Oven Temperature Control Method
The microwave oven method is suitable for small-batch experiments or quick repairs. It avoids the complexities of water bath heating, but it demands extremely high operator observation skills because microwaves can easily cause localized overheating and scorching of the chocolate.
Detailed Steps:
- Segmented Heating: Place the chocolate in a plastic bowl (plastic dissipates heat more slowly than glass, which is better for maintaining a constant temperature). Heat on medium-high for 30 seconds, then remove and stir.
- Gradually Reduce Heating Time: As the chocolate begins to melt, reduce the heating time to 10-15 seconds at a time.
- Retain Unmelted Particles: The key is to stop heating when the chocolate has melted about 80% and visible particles are still present in the bowl.
- Manual Stirring to Melt: Using the remaining warmth in the bowl, continuously stir to melt the last remaining particles. These last particles act as “internal seeds,” making this method essentially a variation of the sowing method.
5. Cold Cycle/Sous-vide Method
This method utilizes the Sous-vide process (low-temperature slow cooking) or a precision constant-temperature water bath. This method is extremely precise and suitable for researchers with strict requirements regarding the principles of chemical crystallization. It can control the temperature difference within 0.1°C.
Detailed Steps:
- Vacuum Packaging: Place the chocolate chips into a waterproof zip-lock bag or vacuum bag.
- High-Temperature Melting: Set the thermostat to 45°C and place the bag in the water until the chocolate is completely liquefied.
- Rapid Cooling: Reduce the water bath temperature to 27°C (ice cubes can be added to accelerate cooling), continuously rubbing the bag to ensure uniform crystallization.
- Final Warming: Return the temperature to 31.5°C and maintain it. This method completely eliminates water vapor contamination and is the most scientifically sound closed-loop solution to prevent chocolate blooming.
Mastering the art of chocolate tempering is the dividing line between amateurs and professional artisans. While the marble method has been a legacy of craftsmanship for centuries, and the seed method and microwave method offer convenience for small-scale experimentation, in a commercial environment that demands high output and consistency, the randomness of manual tempering often becomes a hidden danger for quality fluctuations.
The core of scientific tempering lies in absolute control over the temperature curve.
With the resurgence of the artisanal chocolate market, more and more boutique workshops are turning to automated operations. Using professional equipment such as a table-top chocolate tempering machine not only automates the complex crystallization process but also maintains the chocolate’s optimal flowability during operations lasting several hours, significantly reducing scrap rates and labor costs.
Whether you are a startup brand or an established workshop seeking technological upgrades, choosing the right tools and methods is an essential path to superior quality.