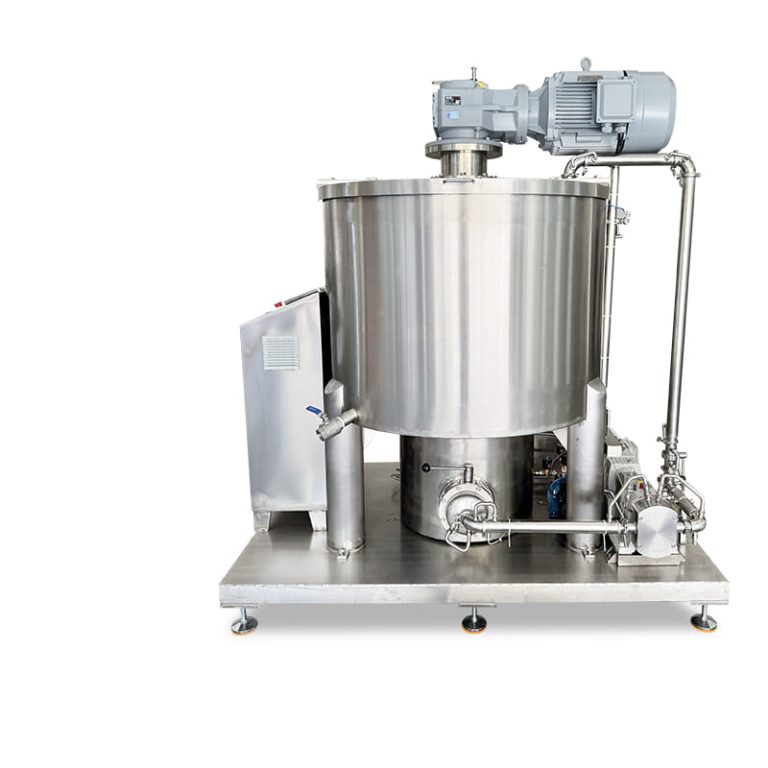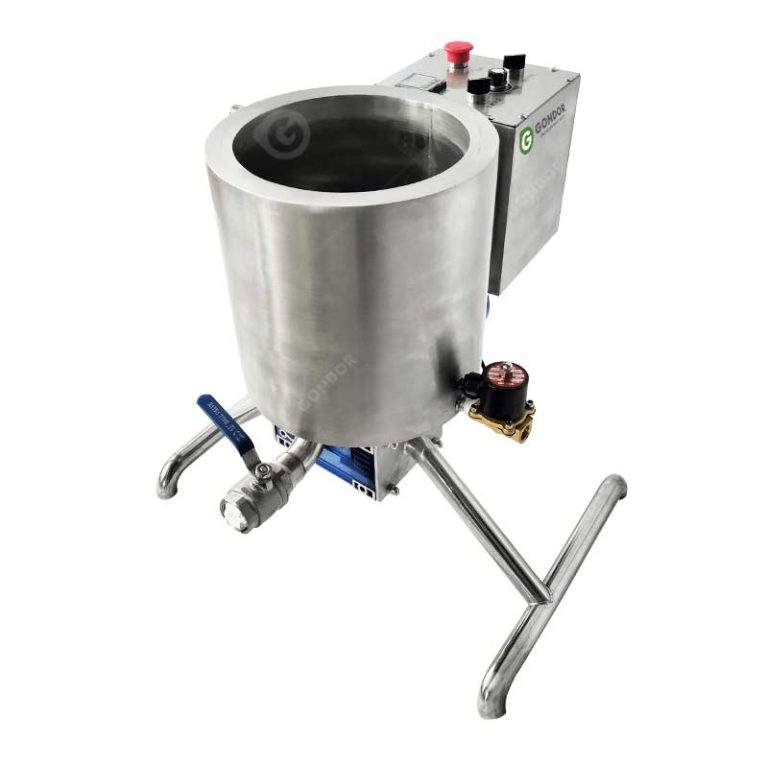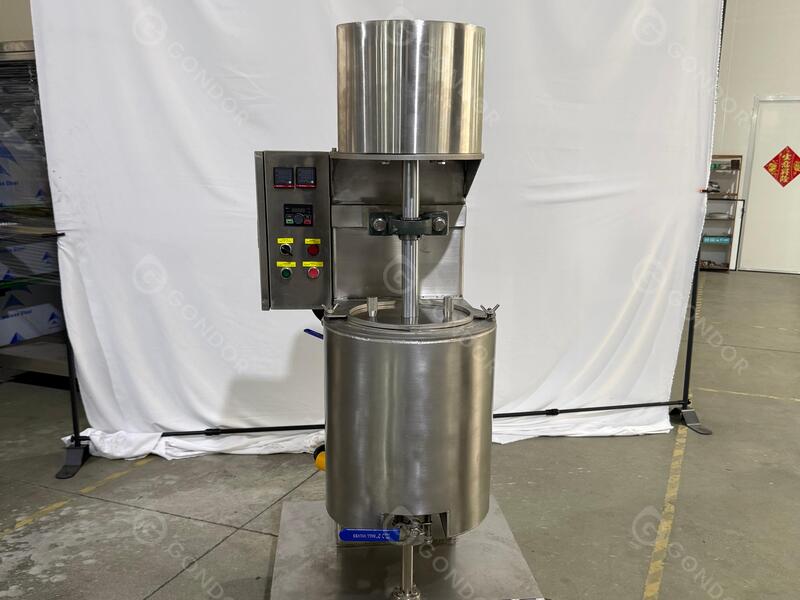


In the intricate world of chocolate making, the fineness of the particles directly determines the luxurious feel of the finished product. The human palate is extremely sensitive; any particle larger than 25 micrometers will produce a “gritty” sensation. Among contemporary mainstream grinding technologies, chocolate mills, with their high energy conversion rate and excellent temperature control, have become the preferred equipment for chocolate producers worldwide.
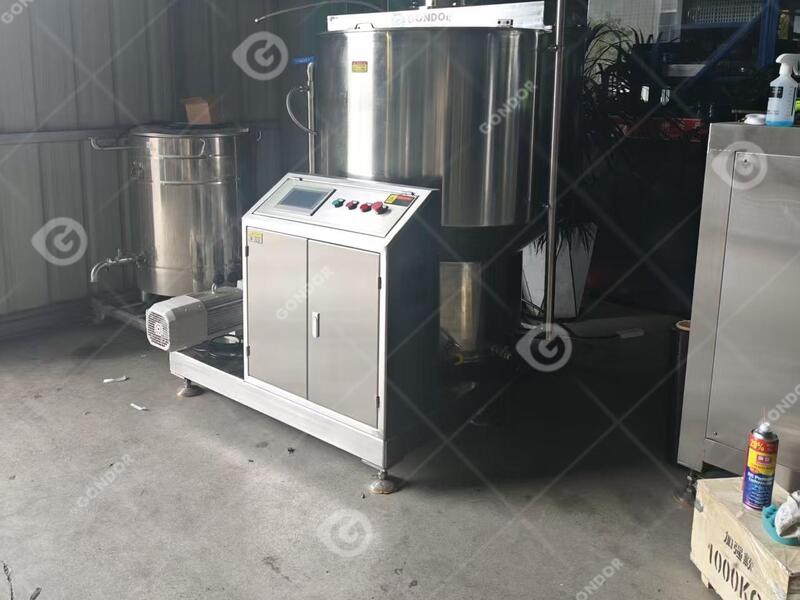
This article will use the Gondor series chocolate ball mill as an example to comprehensively introduce the complete process from start-up, operation, running, to shutdown. It will also share precautions and operating techniques to help operators master the equipment more safely and efficiently.
The Importance of Operating a Chocolate Ball Mill
Understanding the importance of the operating procedure before starting is paramount. Standardizing and regulating the operating procedure of a chocolate ball mill not only ensures production efficiency and product quality but also significantly reduces human error. A standardized operating procedure typically includes three key steps:
Step 1: Ball Mill Operation Preparation
Professional production begins with meticulous preparation. Before starting the equipment, environmental checks are not only to protect the machine but also to ensure food and personnel safety.
1.1 Power and Logic System Startup
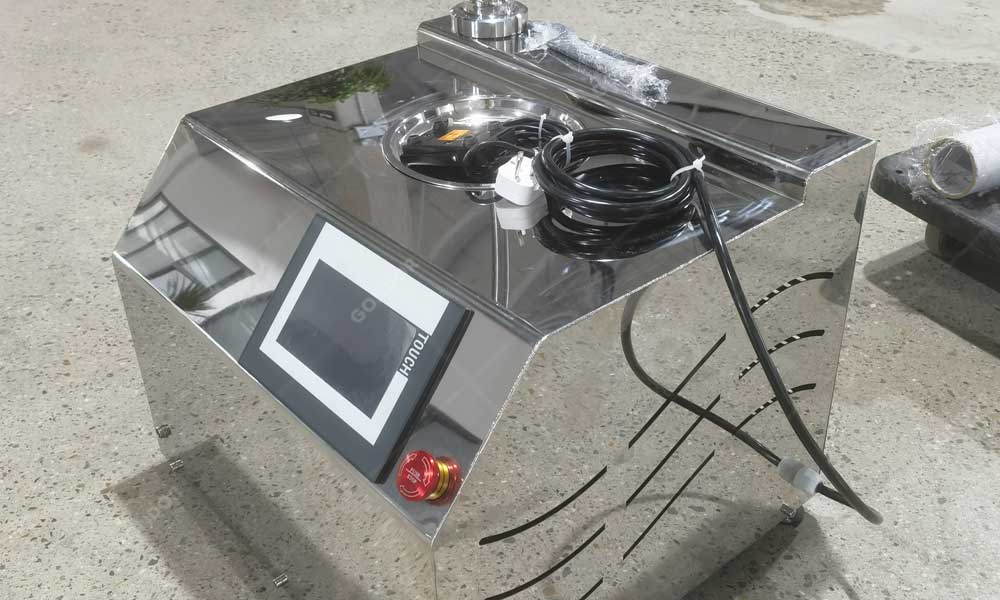
After connecting the main power supply, the LCD screen will display a guide screen. At this time, please observe whether the voltage is stable within the standard range. This hierarchical access control is a key guarantee to prevent accidental modification of production parameters, reflecting the rigor of modern industrial management.
1.2 Pre-inspection of the Cooling Water Circulation System
The ball mill generates a huge amount of heat during the grinding process. If the temperature control fails, the physical structure of the chocolate (especially the crystallization of cocoa butter) will be damaged. The operator must check the connections of the cooling water inlet and outlet. In the standardized process of the TR-Z series ball mill, group A valves are responsible for normal heat preservation water circulation, while group B is usually used for auxiliary cooling or specific process requirements. Ensure that the water level in the tank is above two-thirds; this is a necessary condition for maintaining stable thermal inertia.
Step 2: The Scientific Logic of Parameter Setting
Refining the chocolate syrup is a gradual process, not something that can be achieved overnight. Scientific parameter presets are the key to maximizing efficiency.
2.1 Initial Configuration of Functional Modules
Enter the “Function Switch” interface, which is the “command center” of the entire equipment. The operator needs to activate the following in sequence: cylinder heating, main motor enable, automatic cooling water valve control, material circulation pump, and water tank heating system. Please note that the activation order is not arbitrary. It is recommended to activate the water tank heating first to preheat the circulating medium to the set value before starting the main motor. This reduces the mechanical resistance during the initial motor startup.
2.2 Detailed Explanation of the “Three-Stage” Process Parameters
2.3 Dynamic Balance of Temperature Control
On the “Production Settings” page, we need to set the target temperature according to the process formula. The viscosity of chocolate changes significantly with temperature: η = A \cdot e^{E/RT}. If the temperature is too low, the viscosity will be too high, leading to circulation obstruction; if the temperature is too high (above 60°C), cocoa butter may develop a burnt bitter taste. Typically, we lock the material temperature between 45°C and 50°C, using a PID algorithm to automatically control the opening and closing of the cooling water valve.
Step 3: Feeding Sequence
The feeding sequence is a crucial detail that many beginners easily overlook. Based on our long-term production experience, an incorrect feeding sequence can increase grinding time by more than 30%.
3.1 The “Oil First, Powder Later” Principle
After clicking “Run,” the equipment enters a feeding timer. First, pour in preheated oil (cocoa butter or butter substitute) at approximately 45°C via the material pump or manually. The oil acts as a “lubricant” for the grinding system. Once the steel balls are fully saturated with oil, slowly add dry ingredients such as powdered sugar, cocoa powder, and milk powder. This prevents dry powder from clumping in the gaps between the steel balls and effectively protects the mixing shaft from impact.
Expert Advice: If your recipe contains lecithin, it is recommended to add one-third of the total amount first. Lecithin, as a surfactant, significantly reduces the surface tension of the slurry, accelerating the rate at which powder enters the liquid phase.
Chapter 4: Discharge and Post-Processing
Once the fine grinding countdown reaches zero and the chocolate’s fineness is verified by a fineness meter, it can proceed to the discharge stage. This marks the completion of the physical transformation.
4.1 Pipeline Switching and Flow Control
Manually close the internal circulation valve of the ball mill and open the discharge valve leading to the storage tank or refining tank. Click “Manual Discharge” on the operating interface. At this point, you can flexibly adjust the pump frequency (Hz) according to the speed of the subsequent packaging line. It is recommended to install a magnetic rod filter at the discharge port to filter out the extremely rare metal debris, which is an important part of food safety management (HACCP).
4.2 Emergency Situation: Restart Procedure After Power Outage
This is the most valuable part of this guide. If a power outage occurs during production and is prolonged, the slurry in the tank will solidify. Forcibly starting the main motor at this time could result in a powerful instantaneous torque sufficient to break the main shaft or burn out the frequency converter.
Handling Procedure:
1. Do not start the main motor.
2. Manually switch the water circulation valve to Insulation Group B (an independent external heat source is preferable).
3. Turn on the tank heating switch and wait 4-6 hours (depending on the ambient temperature). 4. Observe the material temperature. When the material temperature reaches above 45°C and the surface shows a liquid-like flow, first manually try rotating the mill.
After confirming that the main shaft can rotate freely, start it from a low speed according to the standard procedure.
Step 5: Daily Maintenance and Care
A well-maintained ball mill can be used for more than 10 years. The core of maintenance lies in monitoring steel ball wear and checking the sealing system.